MCP for controlling instances
Every iOS and Android instance Limrun creates has its own Model Context Protocol server. Three things to know up front:
- One server per instance. Not a shared endpoint. The instance returns its MCP URL once it's ready (covered below).
- Auth uses the per-instance token. The
status.tokenreturned alongside the MCP URL, passed as anAuthorization: Bearerheader. Not your org API key. - Tool surface is device control, not the full SDK. Screenshots, taps, app lifecycle, log fetch. Builds and asset uploads stay on the CLI.
This page covers when to reach for MCP vs the CLI, how to get the URL, and how to wire it into Claude Code, Claude Desktop, Cursor, Codex, and custom MCP clients.
When to use the CLI, MCP, or both
| Aspect | lim CLI | Per-instance MCP server |
|---|---|---|
| Where it runs | The agent's shell | The agent's MCP client transport |
| Auth | Org API key in env or config | Per-instance status.token as Authorization: Bearer |
| Connection | Fresh WebSocket per command, or a persistent one via lim session start | Long-lived MCP session |
| What it can do | Everything Limrun does. Full SDK reference. | Device control only. Five tools, listed below. No builds, no asset uploads. |
| Best for | Builds, instance lifecycle, asset management | Tight tap-screenshot-element-tree loops where round-trips matter |
Most agents end up using both. Use the CLI for provisioning, builds, and assets. Use MCP when the agent needs native tool-use over the device-control surface without shelling out.
Get the MCP URL and token
Create an instance, then read mcpUrl and token off status. Both come back on the same response; you need both to talk to the MCP server.
import Limrun from '@limrun/api';

const lim = new Limrun({ apiKey: process.env['LIM_API_KEY'] });

const instance = await lim.iosInstances.create({
  wait: true,
  reuseIfExists: true,
  metadata: { labels: { name: 'agent-session' } },
});

console.log(instance.status.mcpUrl);
console.log(instance.status.token);   // bearer for the Authorization header
from limrun_api import Limrun
client = Limrun()
instance = client.ios_instances.create(wait=True, reuse_if_exists=True)
print(instance.status.mcp_url)
print(instance.status.token) # bearer for the Authorization headerclient := limrun.NewClient()
inst, _ := client.IosInstances.New(ctx, limrun.IosInstanceNewParams{
Wait: param.NewOpt(true),
ReuseIfExists: param.NewOpt(true),
})
fmt.Println(inst.Status.McpURL)
fmt.Println(inst.Status.Token) // bearer for the Authorization headerOr from the CLI:
lim ios get --json | jq -r '.status.mcpUrl, .status.token'The URL itself has no credentials in it. Authenticate every MCP request by passing the per-instance status.token as an Authorization: Bearer header. The token is scoped to this one instance: it works only while the instance is running, and it can't be used for anything outside it. Do not use your org API key here; that one is for the control plane (creating, listing, deleting instances).
Android instances expose mcpUrl the same way.
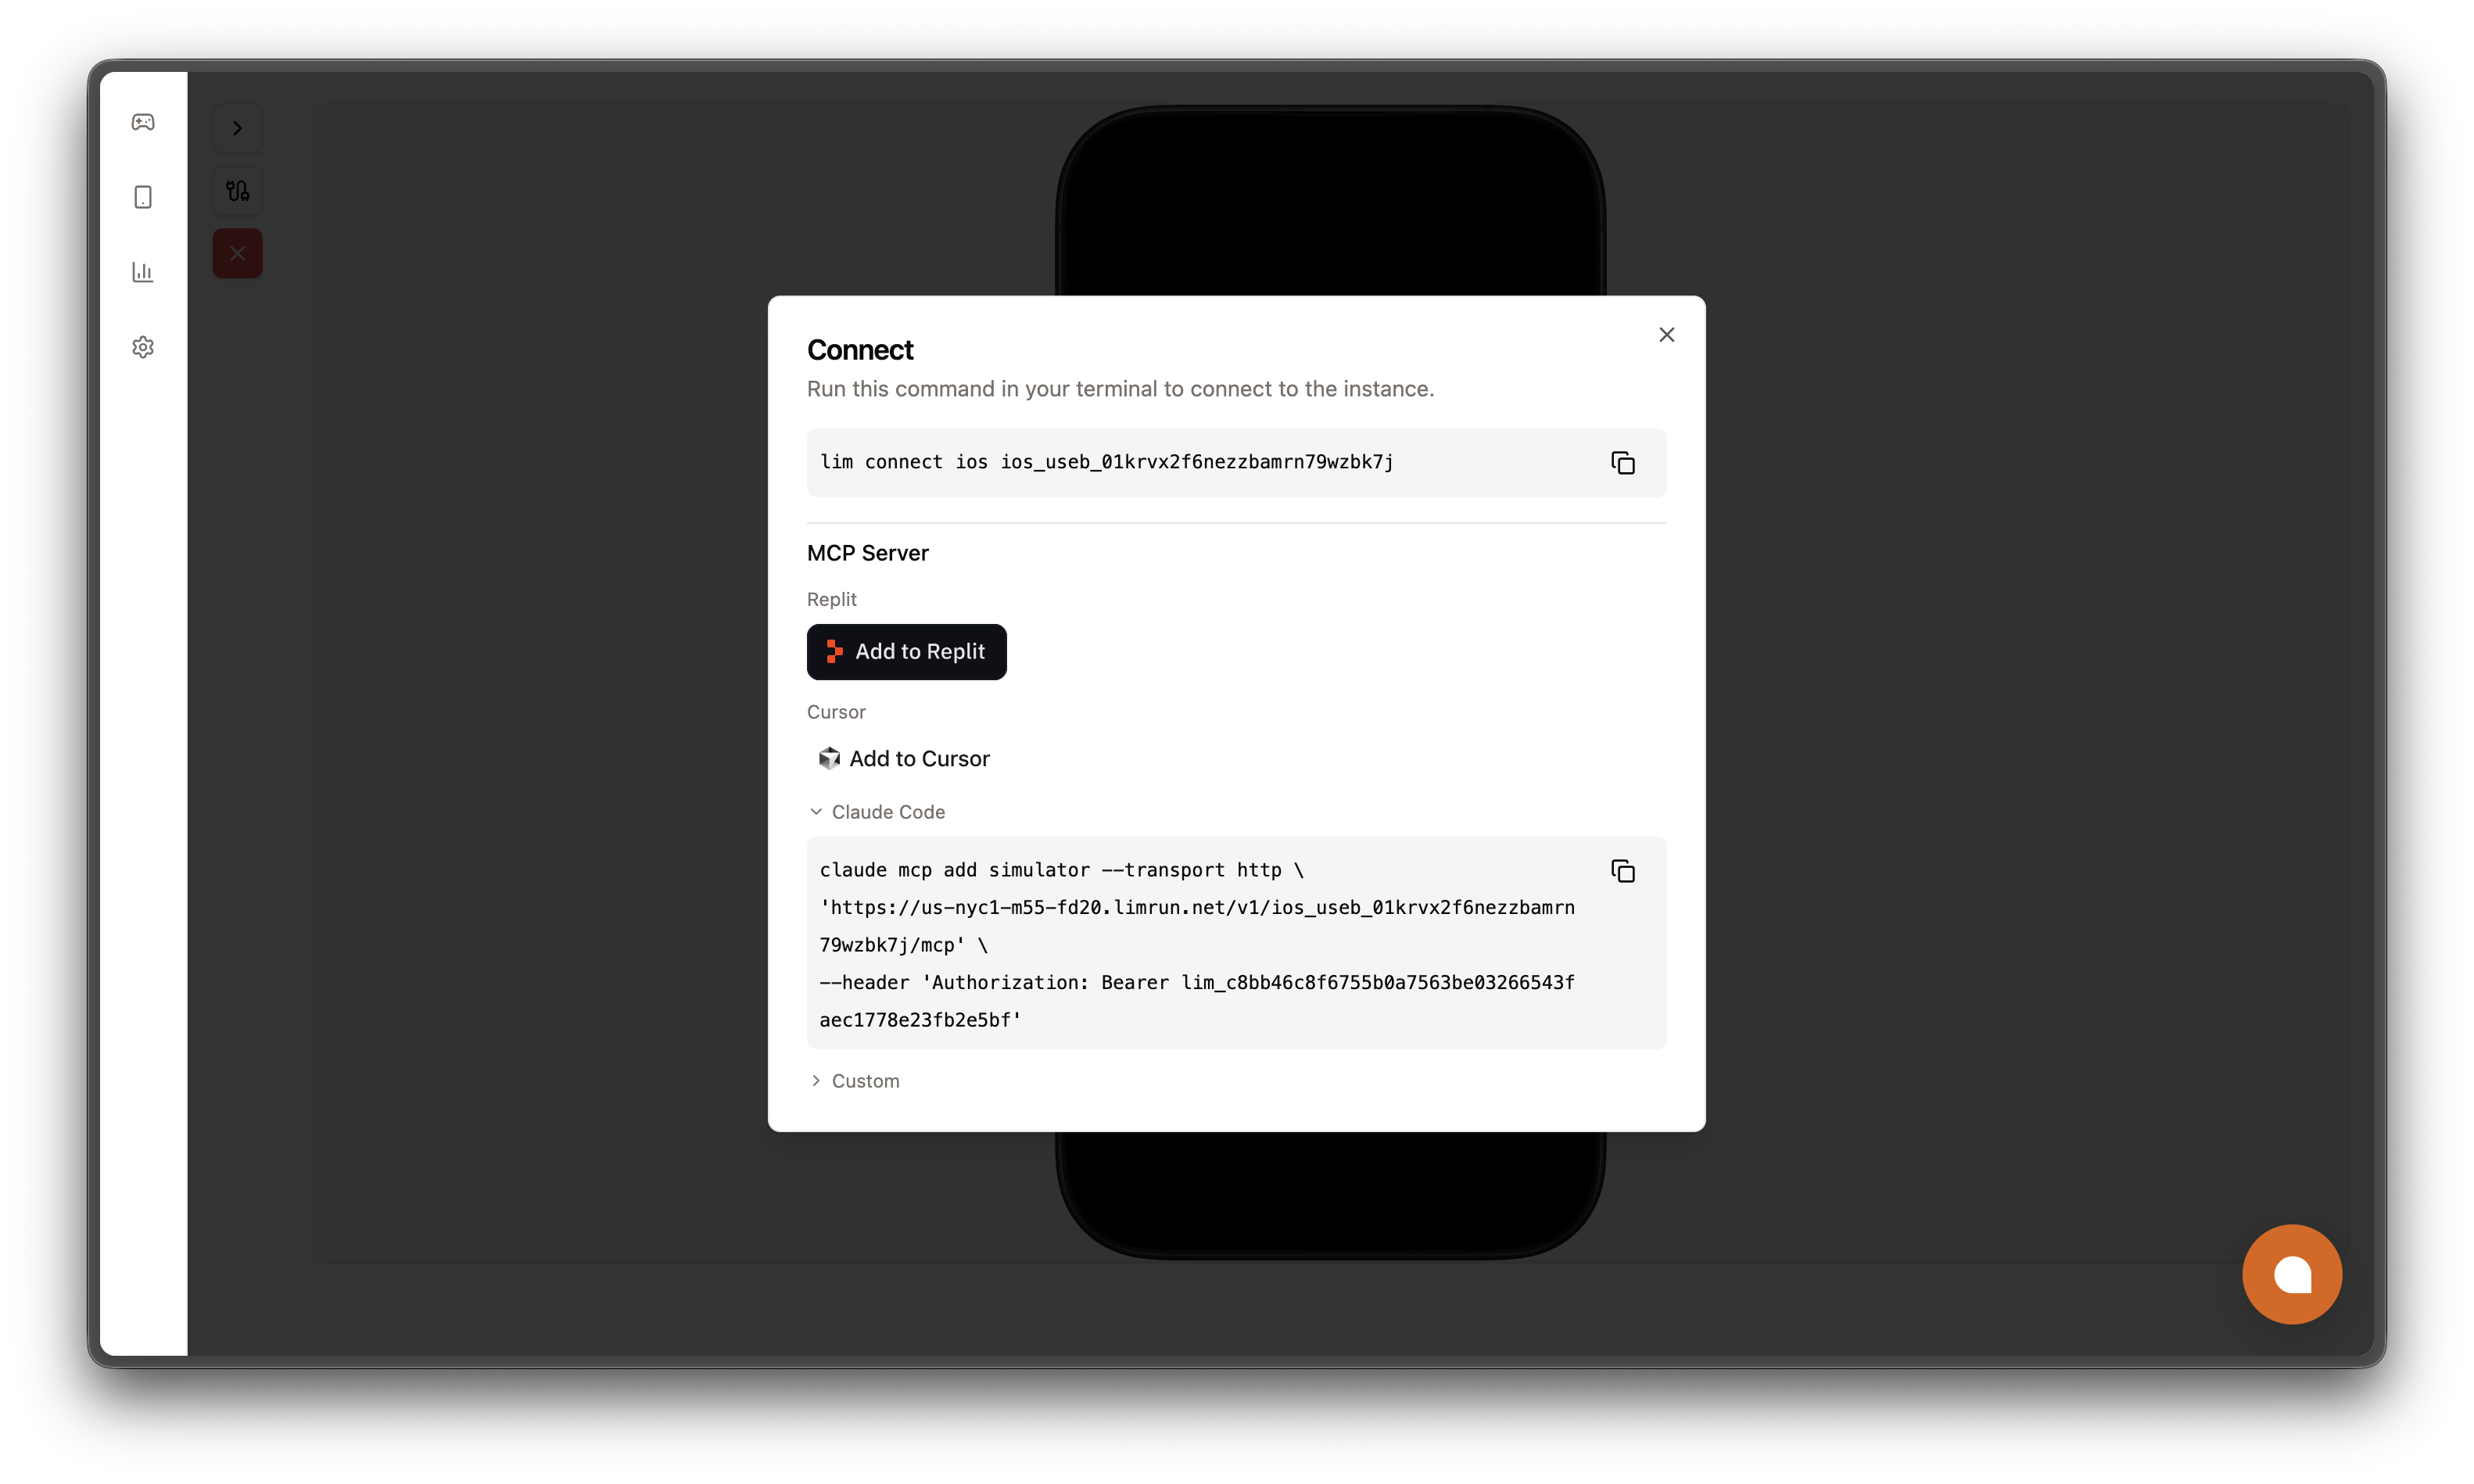
If you already have an instance running, the console at console.limrun.com gives copy-paste snippets for each supported agent. Open a running instance and click the connect icon in the sidebar.

Wire it into your agent
Claude Code
claude mcp add simulator --transport http \
  '<mcpUrl>' \
  --header 'Authorization: Bearer <status.token>'
Replace <mcpUrl> and <status.token> with the two values from the create response above. Verify with claude mcp list.
The console renders the same command with your real values filled in, ready to copy:
Claude Desktop
Add the URL to your MCP servers config in Claude Desktop's settings:
{
  "mcpServers": {
    "limrun-ios": {
      "type": "http",
      "url": "<mcpUrl>",
      "headers": {
        "Authorization": "Bearer <status.token>"
      }
    }
  }
}
Cursor
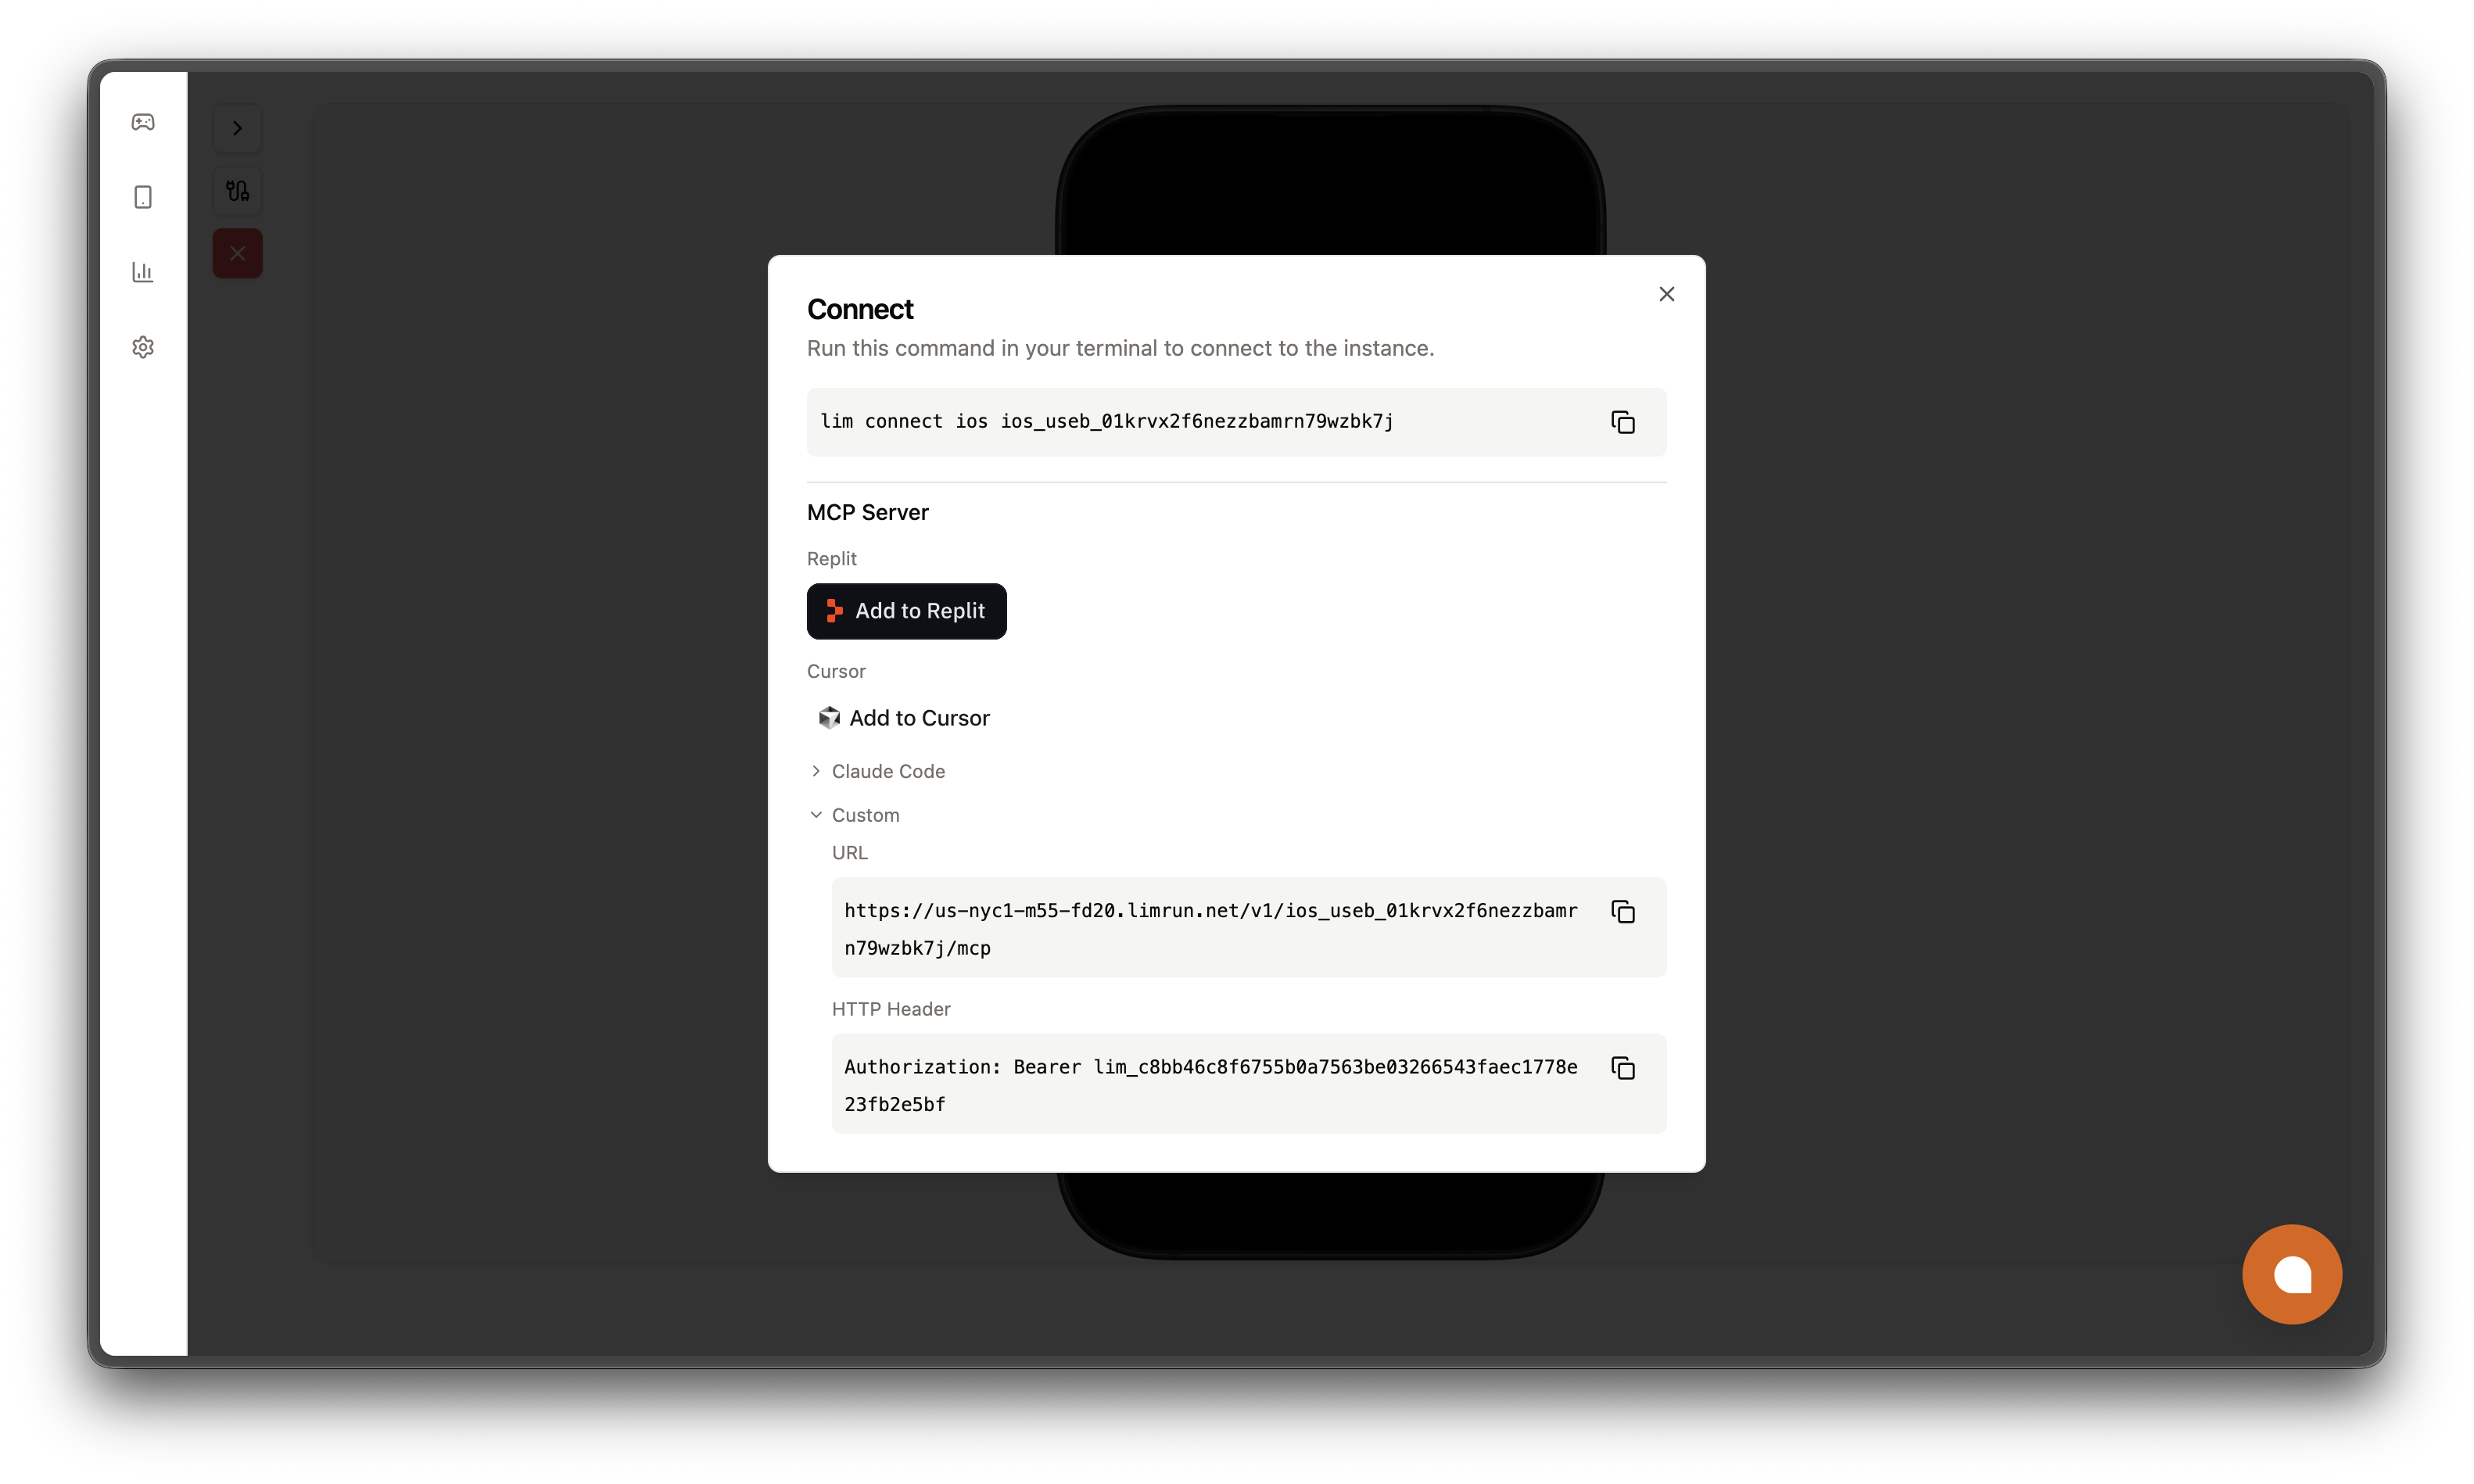
The console's "Add to Cursor" button opens Cursor with the MCP server pre-filled. To wire it by hand, add a new MCP server in Cursor's settings with the URL and the Authorization: Bearer <status.token> header.
Codex Web or any custom MCP client
Any MCP client that speaks HTTP transport works. Pass the URL as the endpoint and Authorization: Bearer <status.token> as a header. The Connect modal's Custom section gives both values pre-populated:
What the MCP server exposes
Five tools.
| Tool | What it does |
|---|---|
ios-screenshot-and-element-tree | Returns the current screenshot and the accessibility element tree in one call. The agent should call this before every action to see the current state. |
ios-use | Performs a batch of actions in order. Action kinds: tap, tapElement, setElementValue, incrementElement, decrementElement, type, pressKey, scroll, wait, toggleKeyboard, openUrl, setOrientation, touchDown, touchMove, touchUp, keyDown, keyUp, buttonDown, buttonUp, deviceInfo, startRecording, stopRecording, discoverStoreKitConfig, clearStoreKitConfig, softReset. |
ios-open-url | Opens a URL or deep link in the simulator. Use this for Safari URLs and for opening apps via custom schemes (including exp:// for Expo Go). |
ios-app | Lists installed apps and launches or terminates them. Does not install apps. Use the CLI or SDK for installs. |
ios-logs | Fetches the last N combined stdout/stderr log lines for a given bundle ID. |
The actions inside ios-use map onto methods on the SDK's createInstanceClient. The MCP server batches them into a few tools rather than exposing one tool per action so the agent can group related steps into a single round-trip.
App installs, Xcode builds, and asset uploads aren't on the MCP server. The MCP protocol doesn't give a tool access to the client's filesystem, so anything that needs to send bytes from your machine (an APK, a .app bundle, a build artifact) lives on the CLI and SDK instead.
Next steps
Was this guide helpful?