Quickstart
This takes about three minutes. You need Node.js 20 LTS or newer; you do not need a Mac.
Setting this up for a coding agent instead? Follow Set up a coding agent. It installs the Limrun skills, which walk the agent through the same loop.
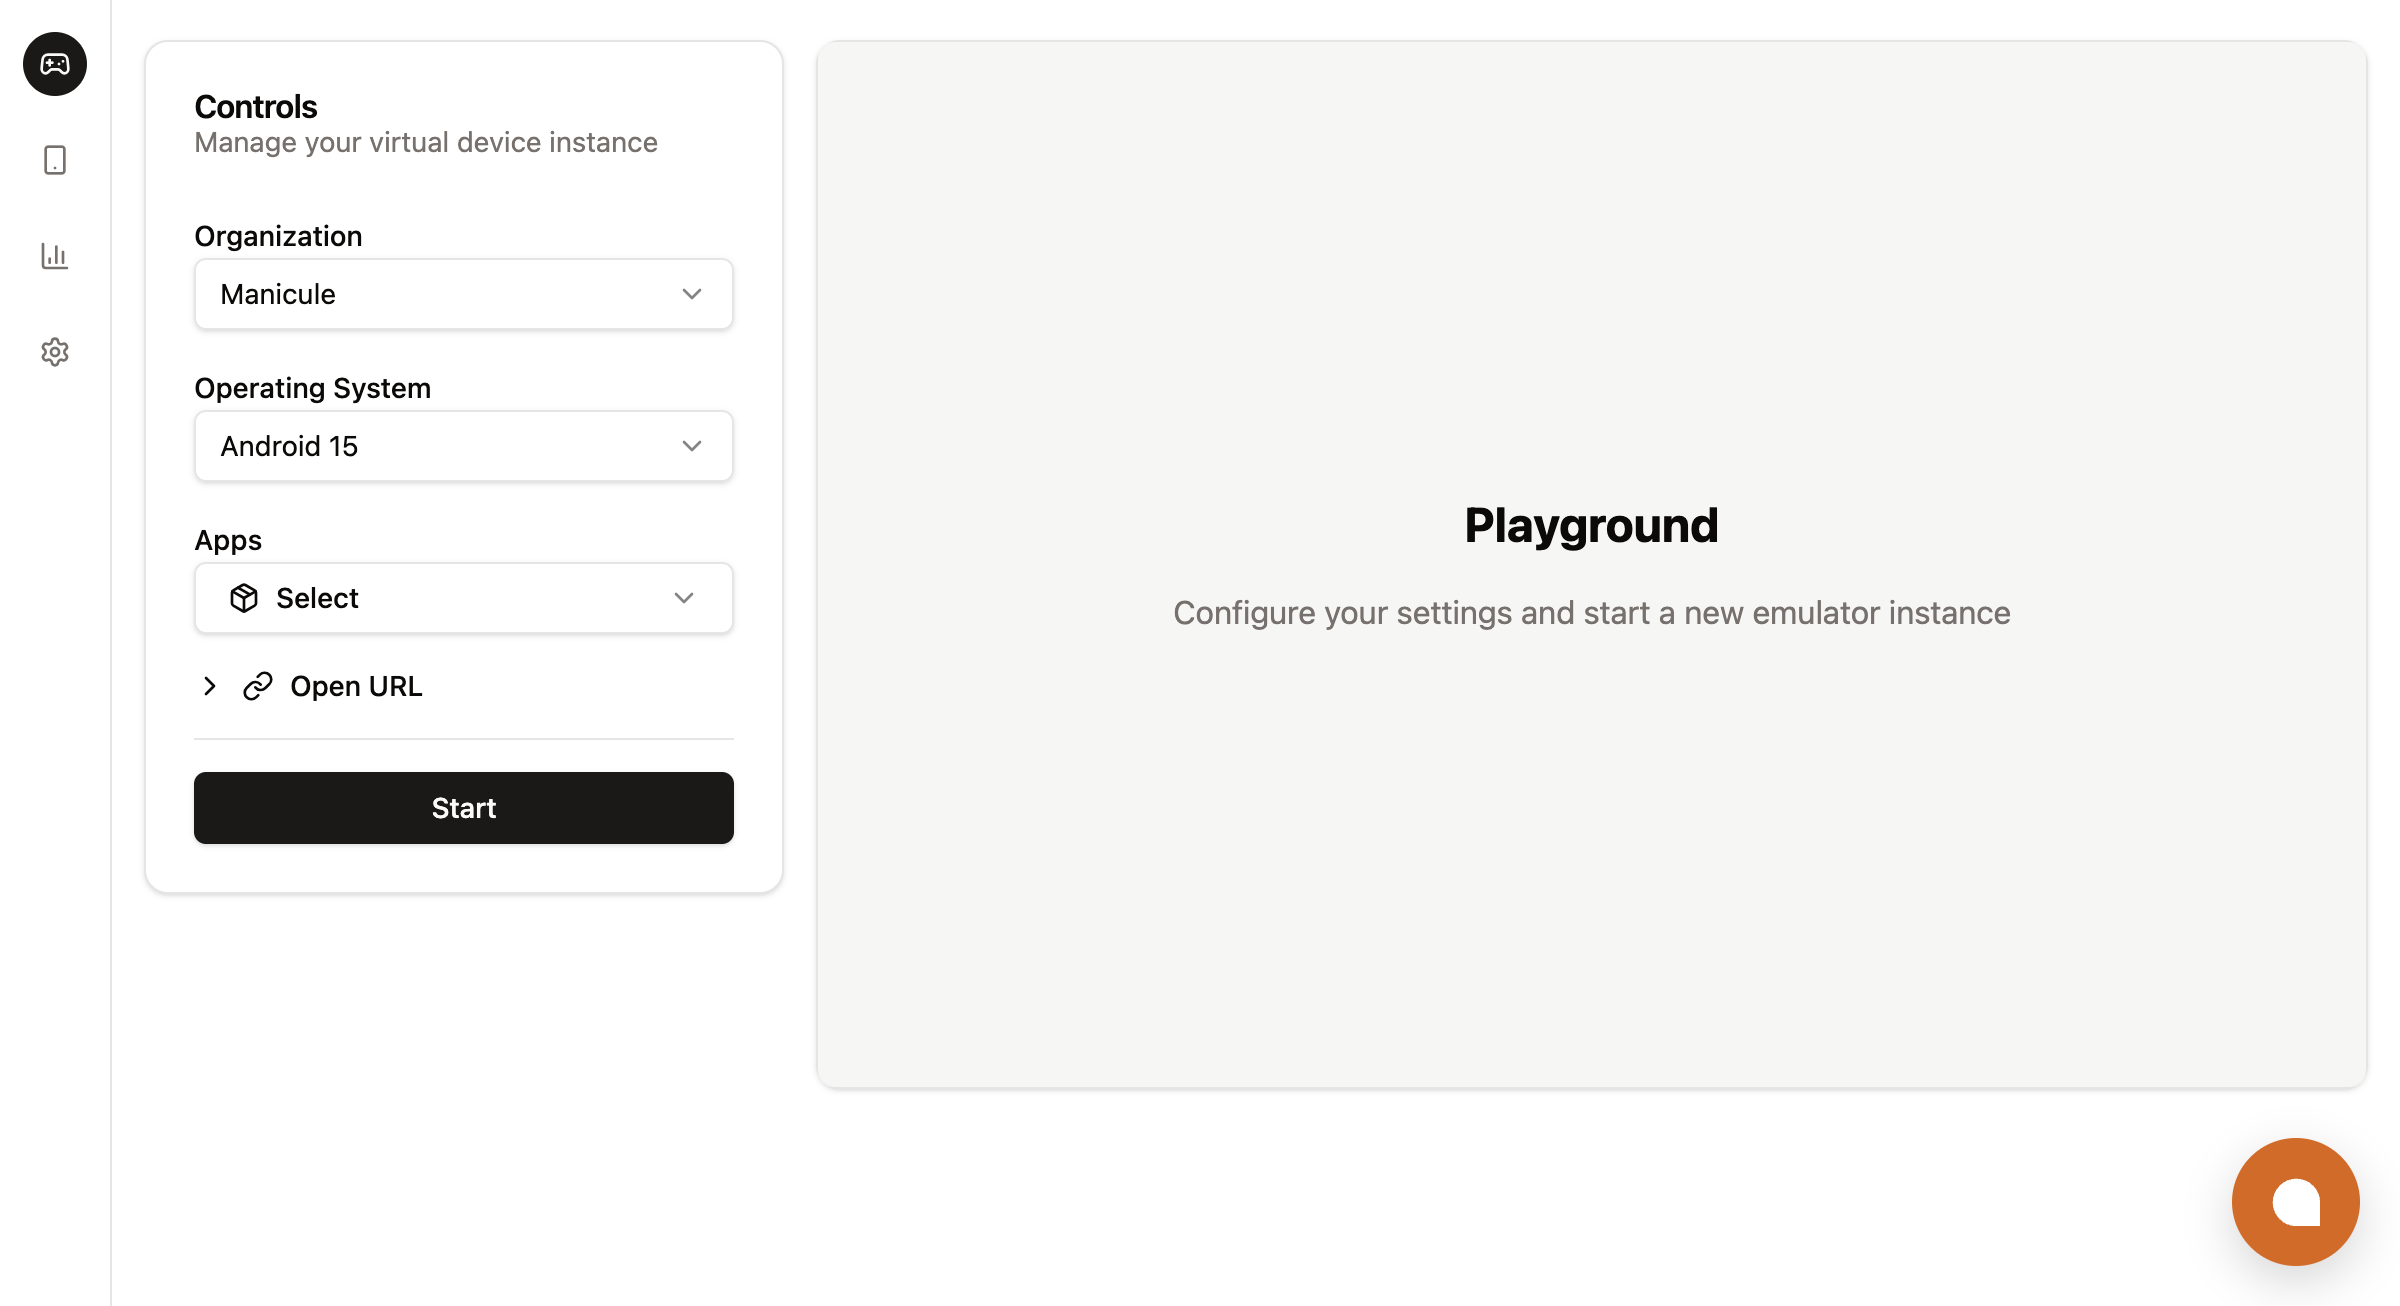
Try it in the browser first
The console has a Playground that creates and streams an instance without installing anything. Pick an operating system, optionally an app to preinstall, and click Start.
Build and run an app
Install the lim package globally with the package manager you use:
npm  install --global lim
pnpm add     --global lim
bun  add     --global lim
On a machine with a browser, log in:
lim loginThe CLI opens the console in your browser, completes authentication, and stores the API key in ~/.lim/config.yaml.
On a headless host such as a CI runner, a devcontainer, or a cloud agent, create a key instead: open console.limrun.com/settings, go to API Keys, click Create Token, and export it:
export LIM_API_KEY=lim_...Clone the sample app, or cd into an iOS project you already have:
git clone https://github.com/limrun-inc/sample-native-app.git
cd sample-native-app
Run the build from the project directory:
lim xcode build .The first run creates an Xcode sandbox, syncs the project to it, and runs xcodebuild there. Build logs stream back as they happen. For a project with several schemes, add --scheme <name> and either --workspace <path> or --project <path>.
Create a simulator attached to the sandbox:
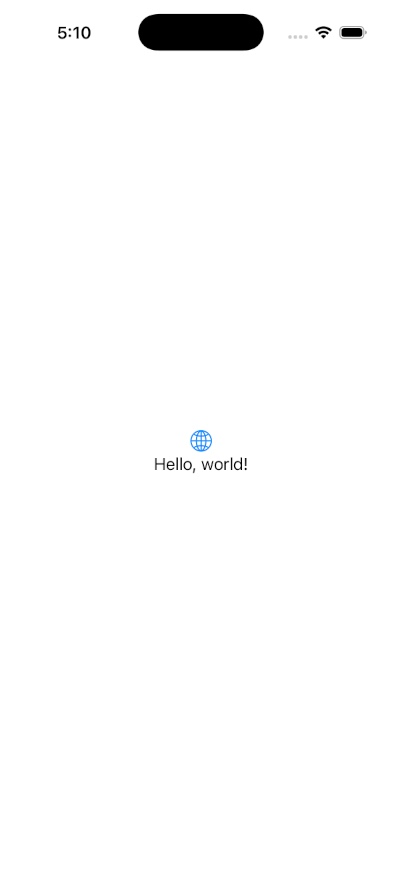
lim ios create --attach --reuse-if-exists --label project=quickstartAttaching installs and launches the latest build right away, and every later successful build reinstalls it. The CLI prints the signed stream URL and opens it in your browser. The URL carries its own token, so anyone you share it with can watch and control the simulator without signing in.
Drive the app from your shell
The sample's first screen has a name field and a Say hello button. Read the screen, type a name, and check the result with lim ios commands. Without --id, each command targets the instance you created last in this git repository:
lim ios element-tree
lim ios tap-element --ax-unique-id nameField
lim ios type "Ada" --enter
lim ios screenshot ./screen.jpg
The heading changes to Hello, Ada!. The element tree lists every label, accessibility identifier, type, and frame on screen, which is where nameField comes from. Read the tree before each action and select elements by identifier; selectors keep working when the layout changes, pixel coordinates do not.
type sends real key presses at the cursor, so it adds to whatever the field already holds, and it fails when no field has focus. To replace a field's whole value instead, use set-text, then tap the button:
lim ios set-text "Grace" --ax-unique-id nameField
lim ios tap-element --ax-unique-id greetButton
The app also logs each greeting. Read the log and keep only the sample's own lines:
lim ios app-log com.limrun.sample-native --tail 50 | grep '\[sample\]'Change the greeting text in ContentView.swift and run lim xcode build . again. The new build replaces the app on the attached simulator.
Clean up
Delete both instances when you are done. Without an ID, delete removes the last instance of that type the CLI created for you:
lim ios delete
lim xcode delete
Instances you forget are deleted by your organization's inactivity timeout.
Next steps
Concepts
Instances, tokens, labels, timeouts, and placement in one page.
Build with Xcode
Schemes, sync rules, build settings, and artifact uploads.
Run a simulator
Every device action: taps, batches, recordings, logs, files, and camera.
Run an emulator
The same loop on Android, with ADB, scrcpy, and Android Studio.
Was this guide helpful?